How to update the MightyChat plugin in WordPress
1. Go to your WordPress admin panel and go to the "Plugins" page.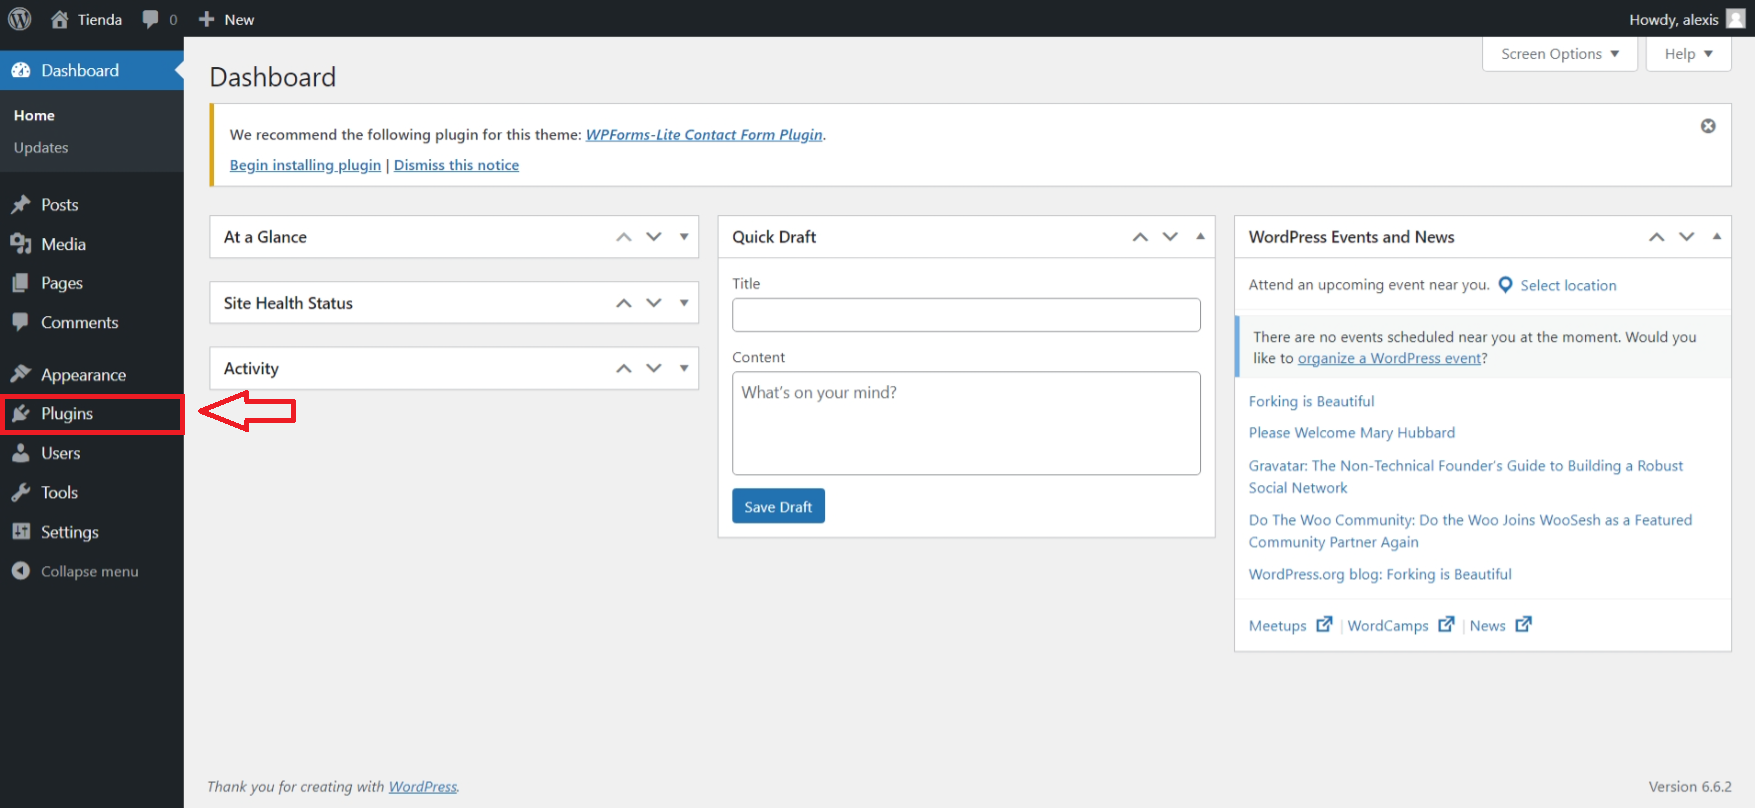
2. Now go to the Installed Plugins page.
3. Look for the plugin with the name "MightyChat" and click on the "Deactivate" option.
4. Then click on "Delete".
5. On the same page click on "Add new plugin".
6. Go to http://app.mightychat.ai/my-chatbots and choose your chatbot. You must click on tab "Deploy", and look for the "Wordpress option" in the "Integrations". When you have found this option click on the "Download" button this will download the wordpress plugin. Look at the following image for reference.
7. On the Add New Plugin page click on "Upload Plugin" in the section below and upload the .zip file you downloaded from MightyChat.
8. After you select the .zip file click "Install Now".
9. To verify that the plugin was installed successfully you must see the following page as shown in the following image. While on this page, click on the "Activate Plugin" button.
10. After installing the plugin you will have to configure your chatbot, don't worry, it is a very simple step. Select the "Settings" option in the sidebar and then choose "Mightychat Options". When you are on the "Mightychat Options" page, enter your "Chatbot ID" and click on the "Save Changes" button.